Apple, with its reputation for user-friendly technology, makes it remarkably simple for users to manage subscriptions on their devices. But when it comes to managing subscriptions on your Apple Card via Apple Pay, the journey tends to get more challenging. Contrary to the streamlined experience Apple provides on its devices, navigating through scheduled payments on the Apple Card can be quite cumbersome.
This complexity only increases when trying to find a subscription that is not linked to an app purchased through the Apple Store, making it seem like a quest to find a needle in a haystack. In the case of Apple Card monthly installments, tracking down and being able to cancel scheduled payments can be a test of patience.
No one wants to pay for services they no longer use, and this is especially true when the charges appear on your credit card statement. Identifying and managing these payments becomes even more important when trying to regulate the payment amount charged to your card.
The solution?
We've curated steps for all Apple Card users to effectively manage their subscriptions, regardless of whether the card in question is the Apple Cash Card or the physical Apple Card. This blog post is intended to guide you through the process of finding all your subscriptions, automatic payments included, and even how to cancel payments if need be. Sit back, read on, and regain control of your Apple Card subscriptions.
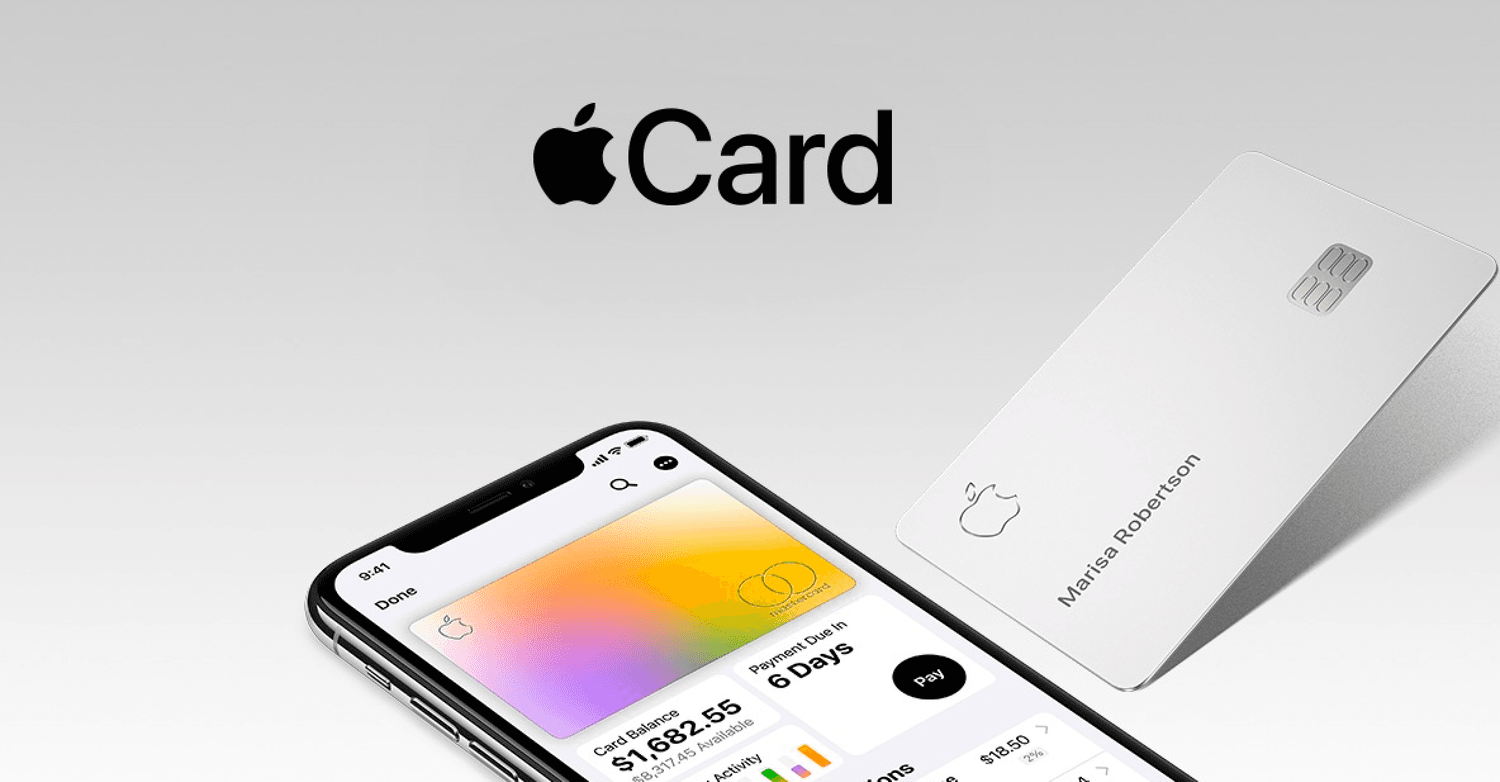
 Apple Card and app in the Wallet
Find all your subscriptions via your iPhone
The Apple Card iPhone interface has a way to monitor your financial spending habits, yet the categories are often wrong (see hilarious commentary here) and they can’t decipher subscriptions on a transaction level!
Here are two ways to do it via your iPhone:
Without downloading Monthly Statement in 8 steps
- On your iPhone, open the Wallet App
- Tap your Apple Card
- Under Card Balance, tap Monthly Activity
- Review statements line-by-line to find unwanted recurring payments for the most recent month
- Take note of the merchant name, amount, and next scheduled payment date for each recurring payment.
- Swipe right for previous month’s statement to ensure the monthly or yearly subscription charge is the same and wasn’t increased; you can also toggle between Month and Year by tapping Week, Month, or Year
- If the charge is there and it is wrong you then have to go through the process of canceling. Once you've identified a recurring payment you want to cancel, you'll need to find the merchant's contact information and go through the process of canceling that subscription manually.
- Review your account regularly
Downloading Monthly Statement in 9 steps
Another way to do this is to do the following:
- On your iPhone, open the Wallet App
- Tap your Apple Card.
- Tap Card Balance
- Scroll down and select the Statement that you want to download.
- Tap Download PDF Statement
- Review statements line-by-line to find unwanted recurring payments for the most recent month
- Take note of the merchant name, amount, and next scheduled payment date for each recurring payment.
- If the charge is there and it is wrong you then have to go through the process of canceling. Once you've identified a recurring payment you want to cancel, you'll need to find the merchant's contact information and go through the process of canceling that subscription manually.
- Review your account regularly
Find all your subscriptions online in 9 steps
- Login via https://card.apple.com/
- Click Statements in the sidebar
- Click the most recent statement (should be at the top)
- Click the Download icon
- Review statements line-by-line to find unwanted recurring payments.
- Take note of the merchant name, amount, and next scheduled payment date for each recurring payment
- Click previous month’s statement to ensure the monthly or yearly subscription charge is the same and wasn’t increased
- If the charge is there and it is wrong you then have to go through the process of canceling. Once you've identified a recurring payment you want to cancel, you'll need to find the merchant's contact information and go through the process of canceling that subscription manually.
- Review your account regularly
3 steps via : The Easiest Solution for Identifying & Canceling Subscriptions
With ScribeUp, managing subscriptions on your Apple card becomes a breeze. By finding and canceling unwanted subscriptions, you'll be able to focus on the subscriptions that truly matter to you — and with ScribeUp, it won’t waste your time!
 Subscriptions are so much more enjoyable when they’re managed for you.
This all-in-one subscription manager simplifies the process of identifying unwanted subscriptions and canceling recurring payment.
By connecting your Apple card, you can easily find, cancel, or restart a service with just one click, saving you money and time:
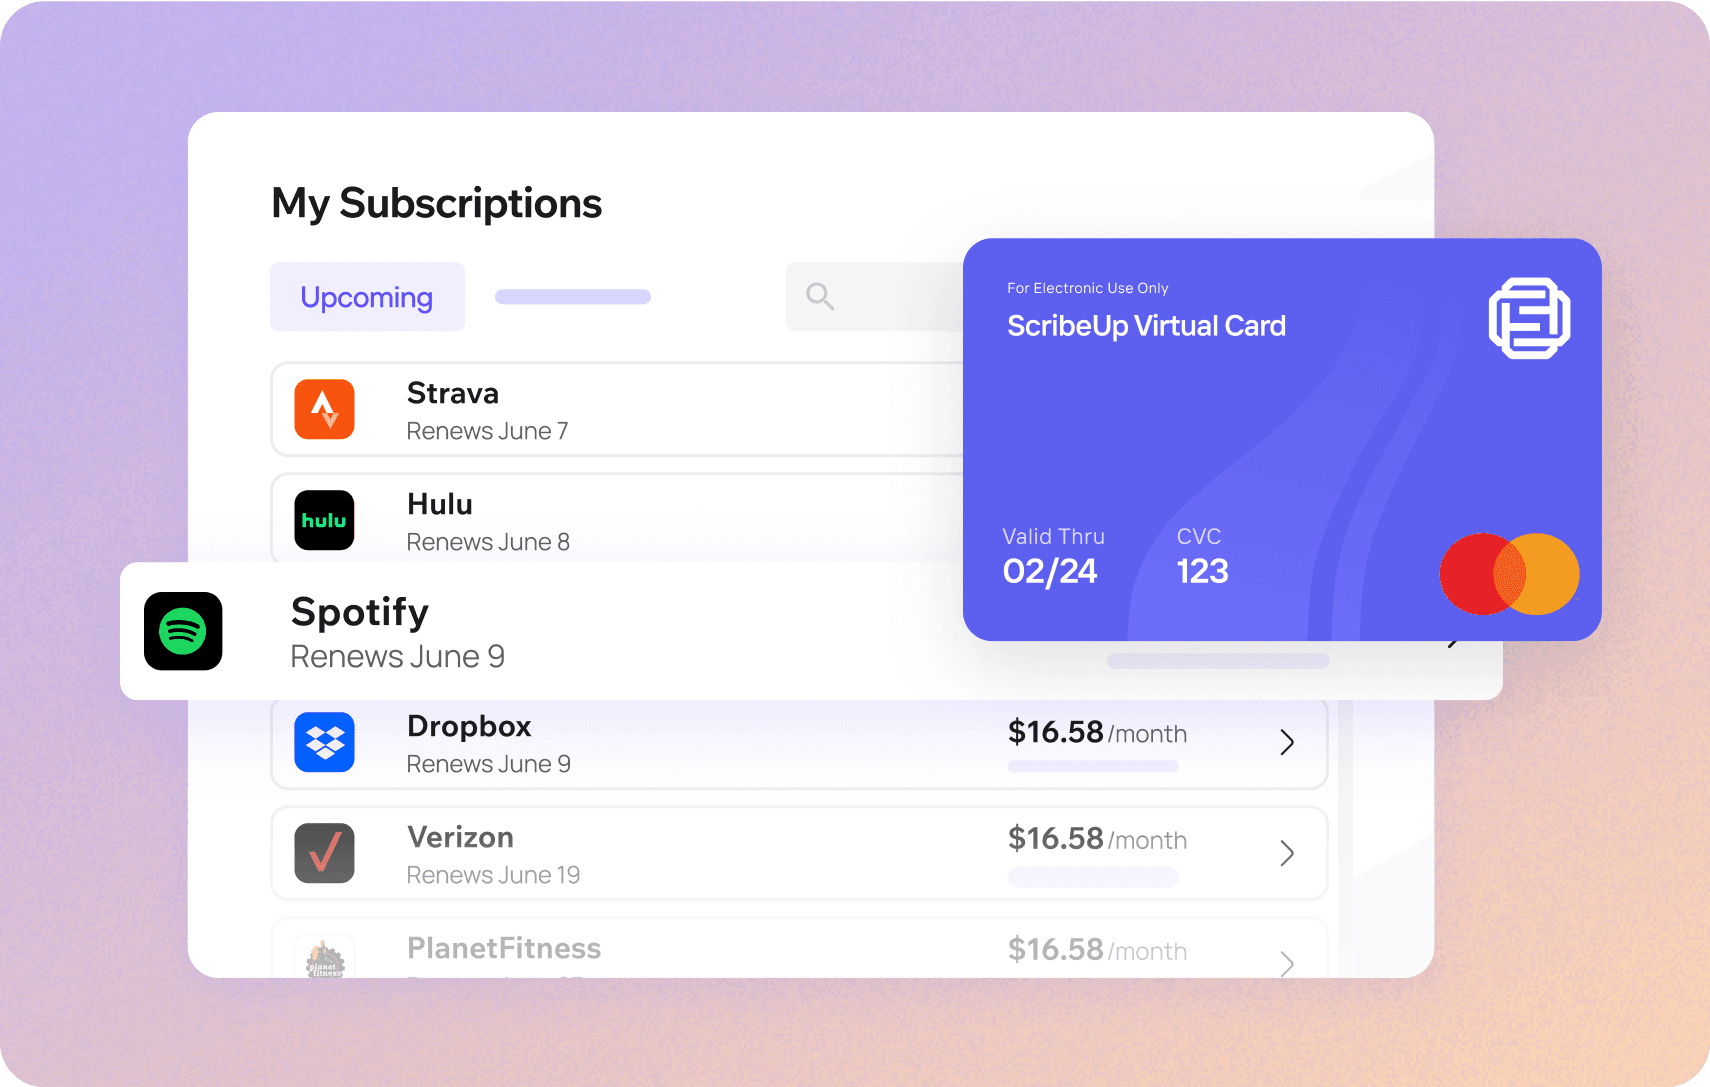
- Scan your Apple Card on ScribeUp – ScribeUp show you a simple list of all of your active subscriptions on your cards (some of which you may not know you're paying for)
- Transfer your subscriptions to your FREE ScribeUp Subscription Card
- Once you do, you’ll get immediate access to features including 1-click cancellation, price-locks, and calendar reminders.
That’s it! So simple and completely FREE! Sign-up for ScribeUp to experience subscription power!
ScribeUp is completely free to use. There are no fees or hidden charges. You only pay for subscriptions you connect to your ScribeUp Card, and you can unsubscribe from any active subscription with a single click.